Thursday, March 31, 2011

Kidlet Approved Miso Soup


"Soup is liquid comfort." ~Author Unknown


Mr. S.'s has two kidlets and when it comes to food they're like night and day. Kidlet #1 is always curious what I'm making in the kitchen, will try any dish once before passing judgement and LOVES spicy food. Kidlet #2, on the other hand, hates most vegetables, stubbornly refuses to try new foods and would rather poke himself in the eye with a fork than eat anything even remotely spicy. If we allowed him to, he'd subsist on chicken and garlic bread. So, you can imagine my surprise when Kidlet #2 ate everything on his plate one rainy afternoon in San Francisco's Japantown. Shumai, rice, yakitori all down the hatch with not one complaint. (Seriously, my jaw dropped!) He also advised me that he loved miso soup as long it didn't have any "green stuff" in it. So, last night I decided to make him some miso soup sans any "green stuff" (wakame and green onions).  For once there was no fussing or whining during dinner, all I heard was slurping from that side of the table. A small victory, but a victory nonetheless.


Kidlet Approved Miso Soup

Ingredients

1 block firm tofu, drained & cut into small cubes

3 T shiro (white) miso paste

2 t dashi granules ( I like Hon Dashi by Ajinomoto)

4 cups of water


Instructions

- Bring water and dashi granules to a boil.

- Reduce heat to medium. Add miso paste. Stir well so that the paste dissolves.

- Add cubed tofu.

- Reduce heat and simmer for 5-7 minutes.

- Ladle into bowls and serve hot.

Wednesday, March 30, 2011

Cauliflower Power


"Cauliflower is nothing but cabbage with a college education."
- Mark Twain

When I was a kid I hated cauliflower. For some reason, while other kids thought the florets looked like cute miniature trees; I imagined the big cruciferous heads to resemble a giant brain. And only zombies eat brains, right? I did a pretty good job of dodging the smelly veggie for the better part of 17 years, but then I began working part-time in various restaurants while I was making my way through college and something magical happened. Vegetables that I avoided like the plague- asparagus, chard, and yes cauliflower began to make their way into my dinner rotation in various creative ways...and amazingly-- I liked them! Now before you decide to poo-poo the cauliflower, take note that it's one of the healthiest vegetables you can eat. It's rich in nutrients, low in calories and next to citrus it's your best source of vitamin C. Most people I know like to eat it raw, saute it or roast it...but I found another way to get your cauliflower fix -- pureed cauliflower with garlic, Parmesan and goat cheese. I came across this simple recipe on Kalyn's Kitchen and it's seriously delish. It tastes creamy just like garlic mashed potatoes but without all the starch and fat. I think this is one even the kidlets would like.

Pureed Cauliflower with Garlic, Parmesan, and Goat Cheese  (by Kalyn's Kitchen)


Ingredients

1 large head cauliflower, cut into small same-size florets

1 tsp. minced garlic

1 T half and half or cream

2-3 T grated Parmesan cheese (depending on size of cauliflower)

2-3 T goat cheese (depending on size of cauliflower)

salt/pepper to taste


Instructions

- Put cauliflower florets in a pan with enough water to cover, add garlic and a small amount of salt.

- Let cauliflower come to a boil, then lower heat and cook 20 minutes, or until cauliflower is very soft.

- Remove from heat and drain very well. (I let it drain nearly 5 minutes in a colander. Don't skip this step or the finished dish will be a bit watery.)

- When cauliflower is well drained, put into food processor and puree, adding the half and half.

- (Optional: You could also use a small hand beater to "whip" the cauliflower as you would potatoes. )

- Put cauliflower back into the pan you cooked it in and turn heat on very low.

- Add Parmesan, goat cheese, and season with salt and pepper. Heat 2-3 minutes, stirring constantly so it does not stick to the bottom.

- Serve hot, with a little freshly grated Parmesan on top if desired.

Thursday, March 24, 2011

Going Bananas! : Banana Bread


At one point last year, I kept getting these wicked charlie horses in my legs everyday. At the most inopportune times, my calf would start spasming causing me to double over while clutching my leg and shrieking in pain like a banshee. It hurt--- a lot. Finally when enough became enough, I emailed my doctor and he suggested that I try adding more potassium and magnesium to my diet. To get more potassium, I started eating bananas but then eating bananas everyday got old...I'm not a chimp afterall. So I moved onto banana smoothies, frozen bananas and banana bread...yep, thanks to a phase of agonizing charlie horses I can now make a mean banana bread. To be honest, banana bread has to be one of my favorite things to bake. It uses up those decrepit, old bananas that have been sitting on your counter and have begun sporting brown spots (you know and I know, you're not going to eat those nasty looking bananas) AND banana bread makes your house smell amazing while it's baking. Anyhow, after about a month or so of Banana-rama, my leg cramps finally disappeared---thank goodness...but my appreciation for banana bread still lingers and I like to whip some up from time to time.

Banana Bread (from The Joy of Cooking)

Ingredients
(all at room temp)

1 1/3 cups AP flour

3/4 tsp salt

1/2 tsp baking soda

1/4 tsp baking powder

5 1/3 tbs unsalted butter

2/3 cup sugar

2 large eggs, lightly beaten

1 cup mashed bananas (about 2)

1/2 cup coarsely chopped walnuts or pecans


Instructions

- Position a rack in the lower third of the oven.

- Preheat the oven to 350F.

- Grease an 8 1/2 x 4 1/2 inch loaf pan.

- Whisk together throughly: flour, salt, baking soda and baking powder.

- In a large bowl, beat on high speed until lightened in color and texture,  2 to 3 minutes: butter and sugar.

- Beat in the flour mixture unril blended and the consistency of brown sugar. Gradually beat in eggs.

- Fold in just until combined: bananas and nuts.

- Scrape the batter into the pan and spread evenly.

- Bake until a toothpick inserted in the center comes out clean, 50 to 60 minutes.

- Let cool in the pan on a rack for 5 to 10 minutes before unmolding to cool completely on the rack.

* I substituted a 9x9 pan and reduced my baking time to 40 minutes.

Wednesday, March 23, 2011

Jerusalem Artichoke Soup


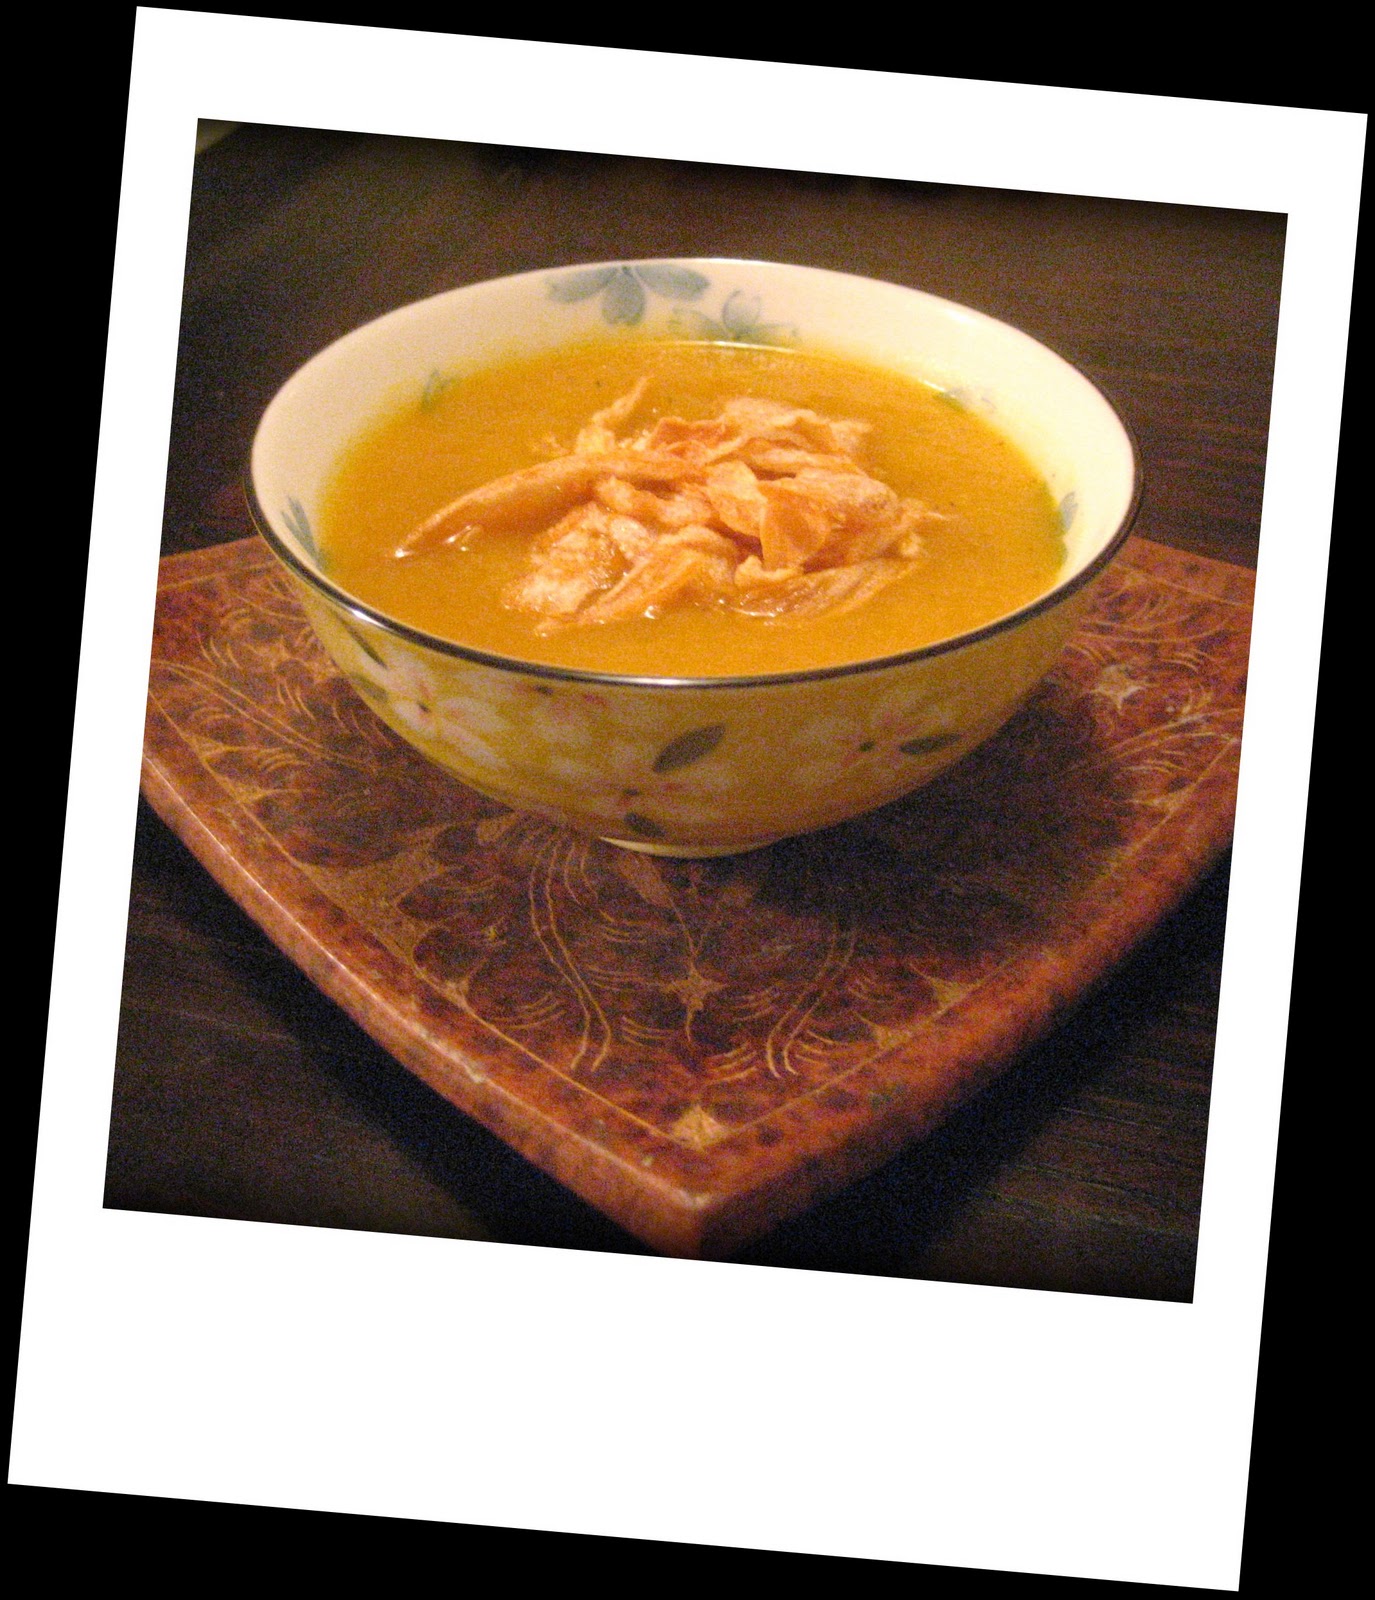
What's a girl to do when the weather outside is beastly and the rain's coming down in buckets? Make a batch of soup, of course! For X-mas, Mr.S.'s mother gave me a big book of soup recipes. I've been pouring over the colorful photographs of drool worthy soups for a couple of months now but haven't had the time to whip up anything from it's pages yet. Today though, I decided to give the Jerusalem Artichoke Soup with Saffron and Thyme a go. Feeling a little bit creative, I decided to jazz up the original recipe by throwing in some smoked paprika and topping it with onion crisps. Yum!

(Also, the nice thing about this soup is that it makes a big batch and you can freeze the leftovers.)


Jerusalem Artichoke Soup

Ingredients

2 tbsp olive oil

2 medium yellow onions, chopped

3-4 garlic cloves, chopped

12 oz. Jerusalem artichokes (also called sunchokes), scrubbed and coarsley chopped

12 oz. carrots, scrubbed and coarsely chopped

sea salt and freshly ground pepper

1/2 - 1 tsp smoked paprika

1.2 quarts hot vegetable stock

1.5 tbsp fresh thyme leaves or 1.5 tsp dried thyme

large pinch (about 30 strands) of saffron

juice of 1/2 lemon

onion crisps or parmesan croutons


Instructions

- Heat the oil in a large pan over medium heat, add the onions and cook for 5-10 minutes or until soft and translucent.

- Add the garlic and cook for another 30 seconds or until fragrant.

- Stir in the sunchokes, carrots and a little salt, then cover with a lid and sweat, stirring frequently, for 10-15 minutes or until the vegetables are softened.

- Add the stock, thyme, saffron and smoked paprika.

- Bring to a boil, then lower the heat to a simmer and cook for 10 minutes or until the vegetables are throughly soft.

- Cool briefly, then process until smooth in a blender.

- Stir in the lemon juice and season to taste with salt and freshly ground black pepper.

- Serve in warm bowls, with some onion crisps or parmesan croutons on top.

Tuesday, March 22, 2011

Event: Fork Over Knives

In theaters May 6, 2011.


"The feature film Forks Over Knives examines the profound claim that most, if not all, of the degenerative diseases that afflict us can be controlled, or even reversed, by rejecting our present menu of animal-based and processed foods."

Sunday, March 13, 2011

Something to Tweet About! : Nesting Baby Blue-bird Cupcakes


It must be baby season because everywhere I look there's bumps and babies. The week before last I think I must have broken a record because I hung out with FIVE different friends in one week that were pregnant (one with twins)! Then this week I got to see a close friend's newborn (Congrats, Misa!) and attend another wonderful friend's baby shower on Saturday. Now, I bet you're wondering what all this baby talk has to do with food, right? Well, at Saturday's baby shower I was tickled pink (in this case blue) to come across these adorable cupcakes that my talented friend Jenny made. ( She was kind enough to divulge that the recipe's from Martha Stewart:  Nesting Baby-Bluebird Cupcakes ) The baby birds popping out of their nests were so cute, they were almost too cute too eat...almost.


Thursday, March 10, 2011

Mamma Mia, Fun in the Pizzeria!


If you're like me you're always looking for something fun (and easy on the wallet) to take the kidlets to...so you can imagine my elation when I found out about Pizza Rock's Kids in the Kitchen class. It just so happened that a  friend I were walking past Pizza Rock this week when curiousity got the better of us and we decided to peek our heads into the pizzeria. Within seconds we were greeted by a hostess with a friendly smile and cheerful attitude. Her hospitable demeanor didn't waiver even after we confessed that we had already eaten and just "wanted to take a look." She even provided us with a take-out menu and filled us in on their Kids in the Kitchen class. Turns out, Pizza Rocks offers a class on Saturdays from 11-1, where kids get to learn the fine art of dough tossing and are given the chance to make a pizza of their very own. The catch? Space is limited so you have to call and reserve a spot.
 
Fashion Trend © 2011 | All Rights Reserved | About | Privacy Policy | Contact | Sitemap