
Monday, November 29, 2010
Have You Checked These Out? : Buzzkill Coasters
Sunday, November 28, 2010
Tart & Tangy : Cranberry Orange Sauce

I'm sure your home, like most homes across America, is still stuffed to the gills with Thanksgiving turkey leftovers. You've probably had turkey sandwiches, turkey soup, turkey cookies...ok, nix the last one. Well, if you're looking for a fast side to go with all that leftover turkey try making up some of This Week For Dinner's Cranberry Orange Sauce. It's simple to make and only takes one pot (easy clean-up!)...plus it's fun to watch the cranberries explode when they get heated up.
Cranberry Orange Sauce
Ingredients
1/2 lb cranberries
1/2 cup sugar
1/4 cup orange juice
zest of 1 orange
4 oranges separated, pith and membranes removed* (I only used 2 oranges and felt that was more than enough)
Instructions
- Bring 1/2 C water to simmer.
- Add cranberries, sugar, OJ and zest. Simmer & stir until sugar dissolved and berries begin to pop, ~15 mins.
- Remove from heat – add orange segments.
* If you're looking for a hassle-free way to segment and remove the membrane of an orange, check out this handy video on RR: How To Segment an Orange
Saturday, November 27, 2010
Smells Like Xmas Spirit

When it's rainy and cold outside, I like for the inside of my cottage to smell warm and cozy. Usually there's the odor of baked goods, bubbling soup or (if it's morning) a percolating pot of coffee wafting through my abode. But sometimes if I'm just home relaxing for the night and feeling slothish, I take a shortcut. (This trick is great also if you're having company over and want to give your home a welcoming air.)
Scent-sational Cinnamon
Instructions
- Take a medium-sized pot of water, place 3-4 cinnamon sticks in it.
- Place on stove and boil uncovered for approximately 30 minutes.
- Turn stove off and allow pot to cool.
(* As the water boils, the cinnamon scent will be emitted and disperse through the air.)
Painting the Town Red: Cranberry - Jalapeño Salsa

(shown au naturale & "tweaked")
Looking for something sweet, sour and spicy that you can make in a flash for a party? Then you definitely need to try this crazy-delicious cranberry-jalapeño salsa by allrecipes. I made some for Thanksgiving this year, with a few tweaks (namely mixing it up with a block of Philadelphia cream cheese) and served it up with some sesame water crackers...and voila! A party in your mouth! What's nice about this salsa is that you can use the leftovers for a multitude of other dishes. I gave some to a friend to taste test and she came up with the brillant idea of pairing it with some grilled sausage. Mmmm!
Cranberry-Jalapeno Salsa (adapted from a recipe by allrecipes)
Ingredients
makes roughly 2 cups of salsa
makes roughly 2 cups of salsa
1 (12 ounce) bag cranberries, fresh or frozen
1 bunch cilantro, chopped
1 bunch green onions, cut into 3 inch lengths
1 jalapeño pepper, seeded and minced
2 limes, juiced
3/4 cup white sugar
1 pinch salt
1 block of Philadephia cream cheese (optional)
Instructions
- Combine cranberries, cilantro, green onions, jalapeno pepper, lime juice, sugar, and salt in the bowl of a food processor fitted with a medium blade.
- Chop to medium consistency.
- Refrigerate if not using immediately. Serve at room temperature.
* TIP: For an alternate serving suggestion, original recipe says to just pour 1 cup of salsa over a block of cream cheese and serve it that way but I found mixing the salsa and the cream cheese up in a food processor made a better tasting product.
Thursday, November 25, 2010

Tuesday, November 23, 2010
99 Ranch Market Opens Up

4220 Florin Rd, Sacramento, CA 95823
One of the small things I'm always thankful for is living in California where Asian food is plentiful. I have Oto's Japanese Market on Freeport that I hit up for most of my Japanese cooking needs and the Asian Farmers' Market (kitty corner from the W Street Farmers' Market on Sundays) that I can pick up fresh Asian veggies at; but once in awhile, I need specialty ingredients when I'm attempting a new Thai, Indian, Hmong, etc. recipe. For the most part when the need has come up, I've been able to find what I need at SF Supermarket on 65th Street. But variety is the spice of life and I was pleased to know another large Pan-Asian market had opened in Sacramento (thanks for the heads up Anthony!). Since I had a few hours to kill, I trekked out to So. Sac to check out the new 99 Ranch Market located at Florin and Franklin (just down the road from Luther Burbank High School). I didn't know much about 99 Ranch but many of my Bay Area friends seemed familiar with the chain.

yucca root

jujubes and longan
Upon walking in, I was struck by two things: the behemoth size of the store and that it was extremely clean. As you walk in, to the left is the produce area. The area was well organized and the fruits and veggies were colorful and fresh. There was a wide variety of ethnicities represented- I found myself next to rambutans, kholrabi, bitter melons, daikon and indian eggplants to name a few. Toward the back of the store is the live seafood area. The area was non-stop busy. I immediately noticed that the pungent "fishy" smell of other Asian markets and cloudy watered tanks were missing; looks like 99 Ranch is on top of their sanitation issues. The store states that they will "cut and gut" (and even fry) the fish for you if you like, which is a great deal. Amazingly, the entire time I was there (mid-day on a Monday) the area was hopping with people purchasing large prawns, bags of oysters, a plethora of fish and even sea cucumbers! It never stopped! The middle of the store carries spices, treats, sauces, liquor and dry goods like noodles and rice. I came across several sections of interesting looking frozen stuffed buns and dumplings. There's a few aisles of housewares and electronic kitchen gadgets and then you're upon the chaos-- the bakery and "food court" section. Here you can buy fresh breads and made-from-scratch pastries as well as tasty dim sum items, steaming hot bowls of noodles and boxed lunches. Hopefully the food court lines die down a bit once the market's been open for awhile. I'd like to go back and pick up a BBQ'd duck or some crispy pork. During my visit there were so many people elbow to elbow and a confusing criss-cross of lines that you would have thought that they were giving out free Justin Bieber tickets.

fresh fish

rice cooking wines

fruit wines
99 Ranch Market's prices seem on par with it's competitors. The fact that it's clean and well-stocked will probably be what draws me back. I also like that the customer base is as diverse as the products they carry there and everyone seems welcomed. The staff that I came across during my visit were all polite and helpful. There was a language barrier issue with one store clerk that was trying his best to help me locate an item but several nearby customers immediately jumped in to help me out. In addition to finding out where the item was located, I got several useful cooking tips! Oh and before I forget, take heed-- much like the other Asian markets in town, this place is rampant with little old Asian ladies speeding along like Andretti and ramming you with their carts. But no pain, no gain right?


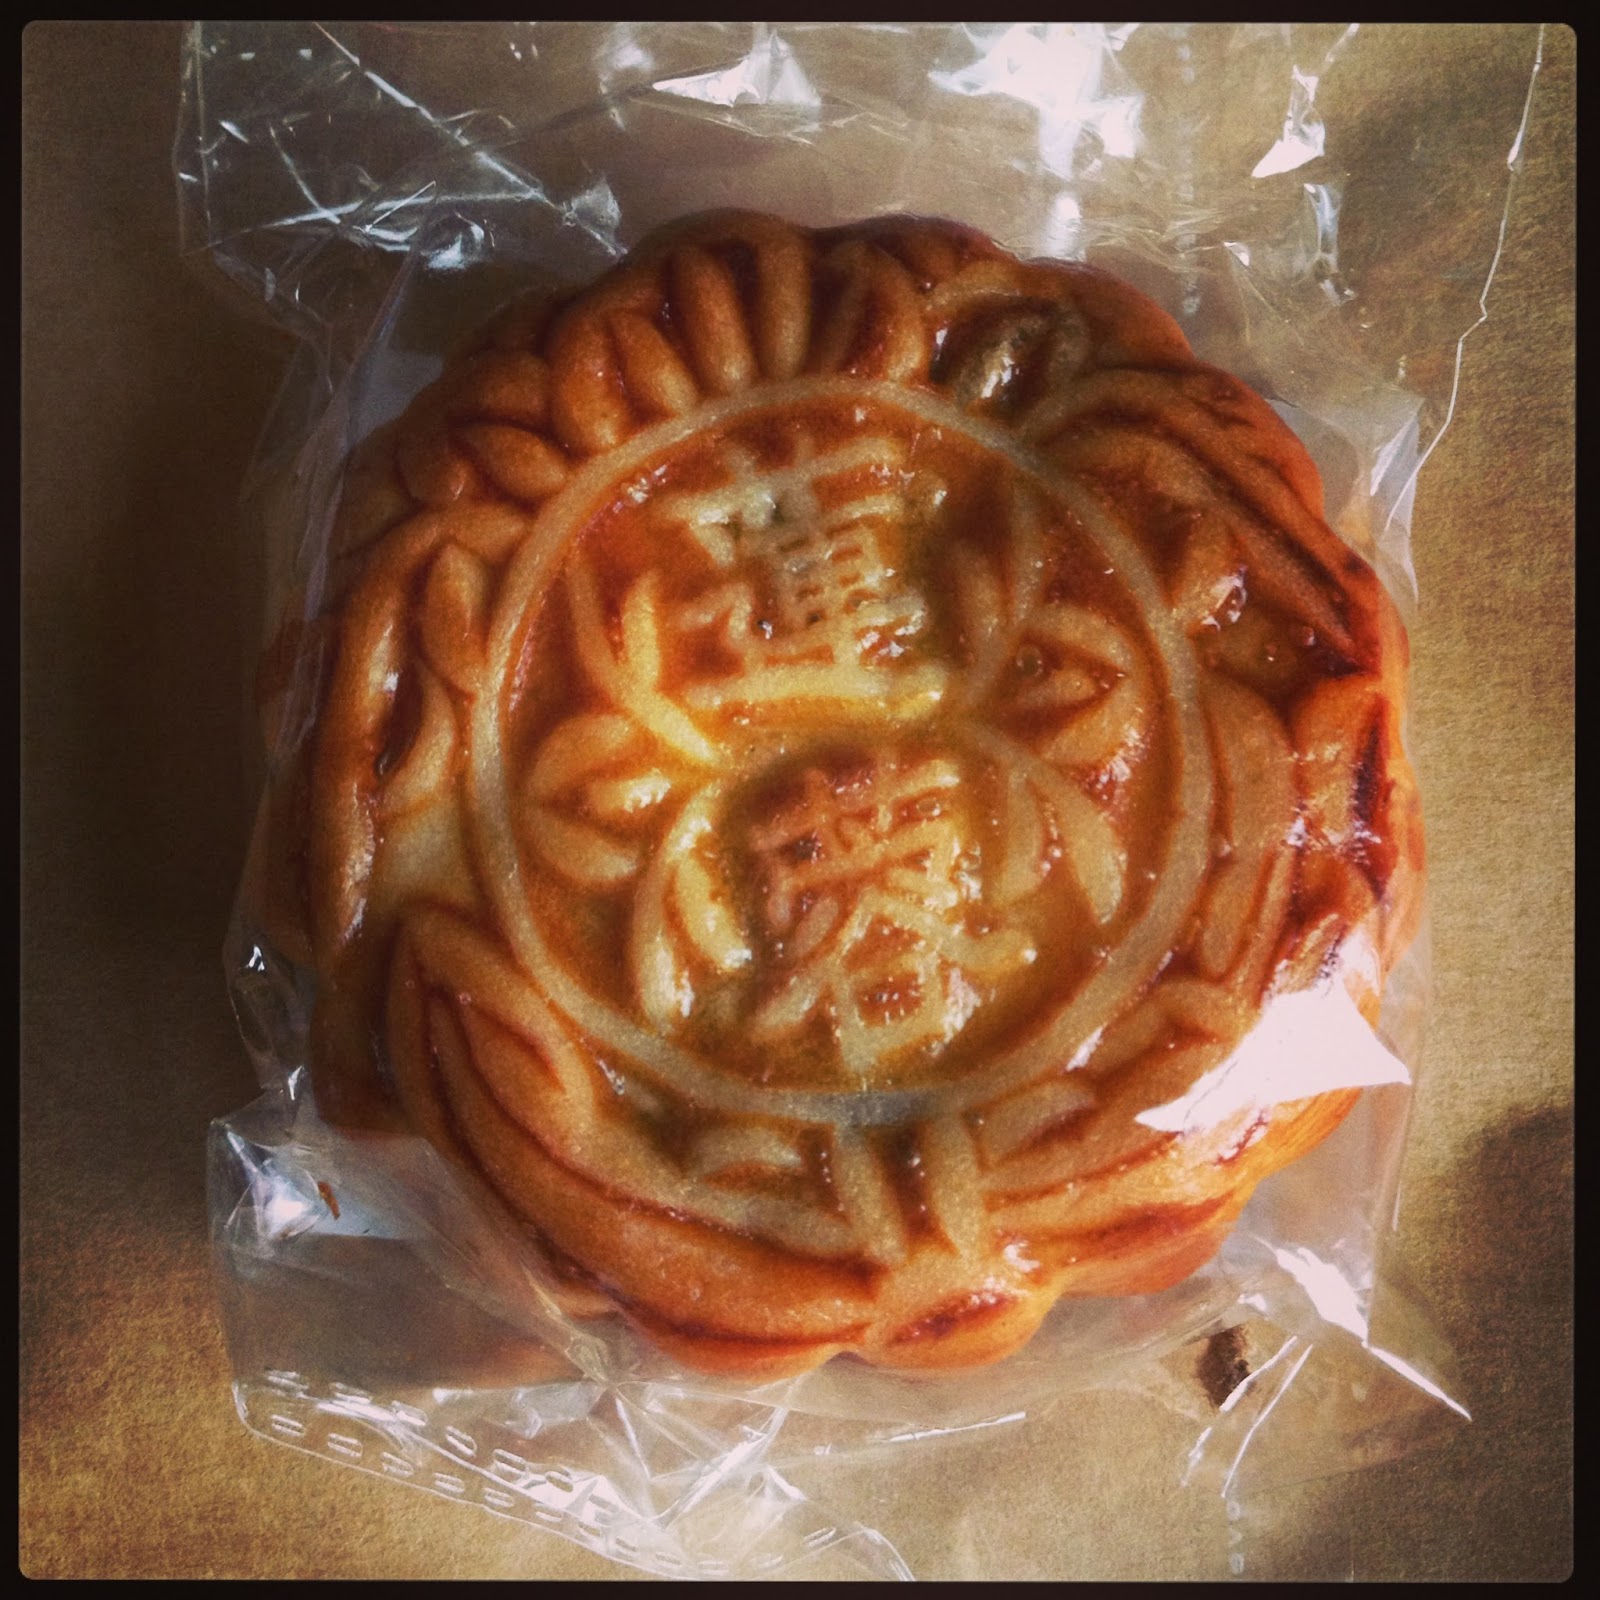
moon pie

dried chrysanthemum

pastries
"Doesn't Taste Like Celery, My Lily-White Ass": Celery Root & Apple Soup

I was really excited about cooking with celery root (aka celeriac). A cross between an albino turnip and an overweight parsnip; it's always been one of those "What the heck is THAT fugly thing?!" vegetables I would pass by time and time again in the grocery store. Everywhere I read said that celery root wouldn't have that sharp green taste that ordinary celery stalks have...well baloney! Celery root has a STRONG celery smell and taste as I found out last night. As someone who abhors the taste, texture and smell of celery; I was not quite pleased with last night's dinner. I had decided to attempt The Kitchen Sink's Celery Root and Apple Soup and the result was a bowl of soup with a VERY celery-centric taste. Maybe throwing in another apple would have helped sweeten it up more; but regardless, this recipe will not be repeated again in our household. Mr. S. who DOES like celery wasn't too jazzed with it either and I found myself munching on a box of Pocky as opposed to finishing my dinner.
[Note: I didn't have chicken broth on hand so I used vegetable broth. I also omitted the chives.]
Celery Root and Apple Soup
Ingredients
1 tablespoon unsalted butter
4 cups 1/2-inch cubes peeled celery root (from one 1 1/4-pound celery root)
3 cups 1/2-inch cubes peeled cored Granny Smith apples (from about 2 medium)
1 1/2 cups chopped onion (about 1 large)
1/4 cup white wine
4 cups low-salt chicken broth
4 sprigs of thyme
1/4 cup buttermilk
fine-grain sea salt and fresh-cracked black pepper, to taste
1/4 cup snipped chives, for garnish
extra-virgin olive oil, for drizzling
Instructions
- Melt butter in heavy large pot over medium heat.
- Add celery root, apples, and onion. Cook until apples and some of celery root are translucent (do not brown), stirring often, about 15 minutes.
- Add wine, broth and thyme. Cover and bring to simmer.
- Reduce heat to medium-low; simmer covered until celery root and apples are soft, stirring occasionally, about 25 minutes. Remove from heat; cool slightly.
- Working in batches, puree soup in blender until smooth.
- Return soup to pot and stir in the buttermilk. Season to taste with salt and pepper.
- Garnish with snipped chives and a drizzle of olive oil.

Monday, November 22, 2010
Have You Checked This Out?
Just saw this fridge by Amana on Apartment Therapy, it's so cute. I'm totally lemming it! Mr. S. would probably hate on it because it lacks an ice/water dispenser but pish-tosh sometimes style comes before function. ;)


Sunday, November 21, 2010
Have You Checked This Out?
I've always been a purist when it comes to coffee...I like my cup of joe black, strong and good. If you see me putting sugar or creamer in it, it usually means that the coffee's less than stellar in taste. However, last week my coffee routine was shook up with the introduction of So Delicious Coconut Milk Creamer. I happened across it while buying some soy milk at the grocer's. O-M-G! This stuff is like crack...yes CRACK, not crap. It's seriously addicting. I threw a carton of the French Vanilla flavor (it comes in original, french vanilla and hazelnut) in my cart on a whim and a week later I've already returned to buy another one. According to Turtle Mountain, the company that cranks this stuff out, the coconut milk creamer is dairy/lactose free, soy free, gluten free, cholesterol free, no trans fat and certified vegan...it's basically free in everything but taste (and cost). I think I might tone down how much of this I'm going through just because I really don't need to be throwing down any extra calories (little or otherwise) during the holidays, but for the occasional indulgence this'll definitely be at the top of my list. Like the carton says, it's "So Delicious."

Thyme Out: Goat Cheese & Apple Tarts

It's been a giant rainfest here lately and the last thing I've been feeling like doing is driving. It's been a cold, damp weekend and tonight was the perfect night to relax with girl friends, gab and drink wine (thanks for hosting, Kristen!). I needed a dish I could throw together without having to don galoshes and slosh my way to a grocery store. Since I had a few Granny Smiths and a log of goat cheese in the fridge I decided to bake a batch of A Cozy Kitchen's Goat Cheese & Apple Tarts. I halved the recipe (listed below is the original recipe) and it came out fine. To top it off, when I came home from hanging out; the house smelled all warm and toasty from the thyme, prompting me to brew a cup of hot tea and put on some Nina Simone before settling down at the laptop.
FYI: This recipe makes a great appetizer but I think it'd pair perfectly with a pipin' bowl of soup as well. Check it out for yourself.
Goat Cheese & Apple Tarts
Ingredients
2 sheets frozen puff pastry
10 oz goat cheese
2 granny smith apples (or similar variety)
2 tbl olive oil
1 tbl chopped fresh or dried thyme
Instructions
- Heat the oven to 425 degrees F.
- While the puff pastry is still frozen, lay flat and cut into squares.
- Place the puff pastry pieces on a lightly greased baking sheet. Spread goat cheese in the center of each puff pastry square.
- Core and thinly slice the apples. Arrange the apple slices on the pastry, making sure that the cheese is completely covered.
- Drizzle the assembled tarts with olive oil & sprinkle the thyme over them.
- Bake for 20-25 minutes or until it's golden brown on the edges. Serve immediately.
(* Keep a close eye on the tarts once they're in the oven. I found they browned very quickly and took them out at 18 minutes; however, each oven is different.)
Thursday, November 18, 2010
We Don't Need No Stinkin' Badges...
...or do we? Well, if they're as cute as these little meat lover buttons from Sweet Meats, I say "Bring 'em on!"

Wednesday, November 17, 2010
Porcini and Morel Risotto

Last Saturday night, I had the pleasure of attending an art show featuring my talented friend Cate. Her show consisted of a series of delicate, colorful works done in gouache centered around mushrooms. Not only were her mushroom pieces quite beautiful but they also inspired me to don my apron and whip up a porcini and morel risotto for Mr. S.. I couldn't find a recipe that met my needs exactly so I ended up combining a recipe from Cooking Light and one from Cuizoo. The end product was absolutely delicious. The wild mushrooms imparted an earthy taste that wasn't overwhelming and the marscapone added the perfect bit of creaminess to the texture...pure mushroom bliss. The risotto was so good that Mr. S. even took the leftovers to work the next day!
Porcini and Morel Risottto
Ingredients
2 cups boiling water
1/2 cup dried porcini mushrooms (about 1/2 ounce)
1/2 cup dried morels (about 1/2 ounce)
2 T unsalted butter
2 cups beef broth
1 1/2 cups uncooked Arborio rice or other short-grain rice
1 cup chopped shallots
3 garlic cloves, minced
1 cup dry white wine
1/2 cup grated Parmigiano-Reggiano cheese
1/2-3/4 cup mascarpone cheese (depending on how creamy you want it)
1 tablespoon chopped fresh or 1 teaspoon dried thyme
salt
freshly ground black pepper
Instructions
- Combine 2 cups boiling water and mushrooms; let stand 20 minutes or until soft. Drain through a colander over a bowl. Reserve soaking liquid; chop mushrooms.
- Bring soaking liquid and broth to a simmer in a small saucepan (do not boil). Keep broth mixture warm over low heat (cover).
- Heat a large saucepan over medium-high heat. Coat pan with butter. Add rice, shallots, and garlic to pan; sauté 5 minutes. Add wine; cook until liquid evaporates (about 2 minutes).
- Add 1 cup broth mixture to rice mixture; cook over medium heat 5 minutes or until the liquid is nearly absorbed, stirring occasionally. Add remaining broth mixture, 1/2 cup at a time, stirring occasionally until each portion of broth mixture is absorbed before adding the next (about 25 minutes total).
- Add mushrooms, Parmigiano-Reggiano and mascarpone cheeses, thyme, salt, and pepper; stir gently just until cheeses melt. Serve warm.

"Blue Mushroom" ( gouache on hot press, 2010 ) by Cate Schmiedt,
can be seen at Side Show Studios, 5635 Freeport Blvd.
up to the first week of December.
Tuesday, November 16, 2010
"The Jerry Brown" : Caramel & Hazelnut Tartlets

Last week I had some puff pastry left over so I decided to do a little experimenting. I modified a Bon Appétit recipe for Caramel Hazelnut Tartlets and what I ended up with was something that I dubbed "The Jerry Brown". Much like our newly elected governor; it's nutty, flaky, sweet and easy on the wallet...if I had to describe it, I'd say my version of the recipe was more like a mini-sticky bun. Anyhow political humor aside, this treat makes a great accompaniment to a hot cup of coffee or tea on a crisp autumn day.
The Jerry Brown
Ingredients:
1 sheet of puff pastry
1 c. hazelnuts, toasted, husked and chopped
1 1/3 c. (packed) golden brown sugar
7 Tbsp. unsalted butter
6 Tbsp. light corn syrup
2 Tbsp. water
1/2 tsp. salt
6 Tbsp. whipping cream
Instructions:
- Preheat oven to 350 degrees F.
- For caramel filling: Combine brown sugar, butter, corn syrup, 2 Tbsp. water, and salt in heavy medium saucepan. Stir over medium heat until sugar dissolves. Bring mixture to boil, then boil 2 minutes without stirring (mixture will bubble up and thicken slightly). Remove pan from heat. Add cream (mixture will bubble vigorously); stir until smooth. Pour caramel into 2-cup measuring cup; cool 10 minutes.
- Roll puff pastry sheet out and using a circular cookie cutter, punch out 24 circles.
- Prick pastry with a toothpick or fork several times to aerate it.
- Place one circle of pastry in each opening of mini muffin pan. Press down so that the pastry conforms to the shape of the pan.
- Place pastry in oven and cook for 7-10 minutes.
- Remove from oven. Fill each puff pastry with chopped hazelnuts, push down a bit on the middle so that the hazelnuts settle.
- Place pan back in oven and bake for 5 more minutes until pastry is done.
- Remove pan from oven. Spoon caramel over hazelnuts in crusts, filling crusts almost to top.(Caramel will absorb into the puff pastry slightly).
- Serve warm.

Monday, November 15, 2010
Roasted Garlic & Lemon Shrimp

Roasted Garlic and Lemon Shrimp
Ingredients
1/4 cup olive oil
4 large garlic cloves, minced
1 cup panko breadcrumbs
1/4 cup chopped parsley
1 lb raw shrimp (peeled, deveined, tail on)
salt and pepper
1 lemon for juicing
1 lemon, cut into wedges or slices
Instructions
- Preheat the oven to 450 degrees. Spray a roasting pan or sided baking sheet with cooking spray.
- In a large bowl combine the olive oil, garlic, parsley, breadcrumbs, salt and pepper.
- Spread the shrimp in a single layer in your roasting pan and spread the breadcrumbs over the shrimp, sort of working them around each shrimp so they are fairly covered.
- Drizzle with a little more olive oil and bake for 8 to 10 minutes depending on the size of your shrimp.
- Place the shrimp on a serving platter and drizzle with lemon juice. Serve warm or at room temperature with additional lemon wedges.
Wednesday, November 10, 2010
Soulful Sole Meunière

Marilyn Monroe was once quoted as saying, "I'm selfish, impatient and a little insecure. I make mistakes, I am out of control and at times hard to handle. But if you can't handle me at my worst, then you sure as hell don't deserve me at my best." This is one of my all-time favorite quotes and well, last week I was definitely at my worst. I was feeling extremely under the weather, everything and everyone seemed to irritate me and to top it off my emotions were in hyperdrive. Chocolate couldn't even placate the trainwreck that I was. Anyhow, through (most of) it Mr. S. bit his tongue, remained patient and tried the best he could to weather the storm. To show my appreciation, I decided to cook him a nice dinner last night. Mr. S. loves fish and he loves sautéed greens; so I went with sole meunière, sauteed chard, and some garlic couscous. I also picked up a tasty shredded golden beet and kale salad at the Sac Co-Op's deli. I was interested in trying out the recipe for sole meunière as I had just finished Julia Child's memoir, My Life in France, and it was said to be the first dish she ate upon her arrival to France. I liked that she described it as being "the most exciting meal of [her] life." Well, it might not have been THE most exciting meal of our lives but I thought it was a simple yet delicious dish (the fish was buttery and seemed to melt in my mouth) and Mr. S. was pretty enamored with it. I used a recipe by Ina Garten as a basis for my sole meunière (for the original, unaltered recipe, click on the hyperlink). I'd definitely make this recipe again but next time I think I might live on the wild side and throw a few capers into the dish.
Sole Meunière
Ingredients
1/2 cup all-purpose flour
Kosher salt and freshly ground black pepper
4-6 fresh sole fillets, 3 to 4 ounces each
6 tablespoons clarified butter (or ghee)
1 teaspoon grated lemon zest
6 tablespoons freshly squeezed lemon juice (~ 3 lemons)
1 tablespoon minced fresh parsley
Instructions
- Preheat the oven to 200 degrees F. Have 2 heat-proof dinner plates ready.
- Combine the flour, 2 teaspoons salt, and 1 teaspoon pepper in a large shallow plate.
- Pat the sole fillets dry with paper towels and sprinkle one side lightly with salt.
- Heat 3 tablespoons of clarified butter in a large saute pan over medium heat until it starts to brown.
- Dredge 2 sole fillets in the seasoned flour on both sides and place them in the hot butter.
- Lower the heat to medium-low and cook for 2 minutes. Turn carefully with a metal spatula and cook for 2 minutes on the other side. [Tip: Julia warns, “Do not overcook; if the fish flakes, it is overdone.” ]
- While the second side cooks, add 1/2 teaspoon of lemon zest and 3 tablespoons of lemon juice to the pan.
- Carefully put the fish fillets on the ovenproof plates and pour the sauce over them. Keep the cooked fillets warm in the oven while you repeat the process with the remaining 2 fillets.
- When they're done, add the cooked fillets to the plates in the oven. Sprinkle with the parsley, salt, and pepper and serve immediately.
Thursday, November 4, 2010
Caramelized Onion & Goat Cheese Tartlets

(photo by Melanie Dinos)
This past weekend was packed with parties galore! Friday night was a birthday/sushi making party, Saturday night followed with an All Hallow's Eve party and Sunday was a birthday dinner for Mr. S.'s pops. For the latter two, I decided to throw together some caramelized onion and goat cheese tartlets (I bet you're starting to salivate like Pavlov's dog already, right?) Well, they were simple to make, came out great and were gobbled up immediately.
Caramelized Onion & Goat Cheese Tartlets
Ingredients:
1 sheet of frozen puff pastry dough (you can find this in the freezer section of your local grocery store)
1 large sweet onion ( peeled and diced/ or thinly sliced)
1 8 oz. package of goat cheese
3-4 T unsalted butter
1 t of sugar
Instructions
- Thaw puff pastry dough for 30 minutes.
- Preheat oven to 400 degrees F.
- Using a thick-bottomed pan, heat butter on medium high. Add onions. Make sure onions are coated evenly. Stir occasionally and allow to sauté until onions are caramelized (about 20-25 minutes). Add sugar to onions while cooking.
- Using a circular cookie cutter, punch out circles.
- Prick pastry with a toothpick or fork several times to aerate it.
- Place one circle of pastry in each opening of mini muffin pan. Press down so that the pastry conforms to the shape of the pan.
- Place a spoonful of goat cheese on top of each pastry circle.
- Follow with a spoonful of caramelized onion.
- Bake at 400 degrees F for 13-15 minutes until pastry is a golden brown. (When you take the tartlets out of the oven, some bits of the caramelized onion will be quite dark...don't worry your onions aren't burnt. If you taste those small charred bits, they're quite sweet.)
- Serve warm.
Wednesday, November 3, 2010
The Incredible Edible Egg : Tamago-yaki

"It says here breakfast any time.... I'll have eggs in the age of enlightment"
- Mikey, "Swingers"
My fantabulous friend Cate (of the hummus fame) recently celebrated a birthday by throwing a sushi making party at her home. Each guest was asked to bring a side dish or an ingredient for the sushi. Never one to make things simple for myself, I decided to try my hand at tamago-yaki (sweet egg omelet). I'd never made tamago-yaki before but figured it couldn't be too hard (hah!). Turns out that there are only minimal ingredients needed but there's definitely a technique to rolling the omelet with chopsticks that I'll need to work on. My pan was bigger than the one in the recipe I used, so I doubled the ingredients for each tamago-yaki (see below). Anyhow, I was able to produce a few omelets to take and they were a huge hit...except with Mr. S. who kept insisting that it tasted like french toast...um, what?!? Regardless, yay me!
Adapted from Momofukufor2's Tamago-yaki Recipe
Tools
Makiyakinabe (a Japanese rectangularish frying pan- Oto's sells them in their housewares department. Mine was about $8. You can also purchase them online via sites like Amazon). The pans come in different sizes; the one I used was 9.5 in x 9.5 in
Long chopsticks
Spatula (optional)
Ingredients
1 dozen eggs
4 T mirin
4 T sugar
4 t light soy sauce
Instructions
- Crack 6 of your eggs in a bowl and lightly mix them using your chopsticks. Do not whip them. Mix well, making sure the egg whites and yolk are homogeneous.
- Add 2 T of mirin, 2 T of sugar and 2 t of light soy sauce. Mix.
- Use a folded paper towel to evenly spread a bit of oil in your pan. Heat it on medium low heat, then pour in the eggs so they cover the bottom of the pan.
- After 2-3 minutes, the egg will start to cook and solidify. The eggs don’t need to be entirely cooked, in fact, they should be a tiny bit moist on top so that the egg sticks to itself. Using chopsticks (or a spatula), fold the egg over evenly onto itself twice, like how you would fold a letter into thirds. Don’t flip the eggs, just push them to the end of the pan.

- Use your oily paper towel to spread a tiny bit more oil in the pan and add a bit more of the eggs. Lift up the log of already cooked eggs so that the raw eggs are touching them. When the new layer of egg is almost cooked, fold the eggs over onto themselves again. Repeat until all the egg batter is used.
- Wrap in saran wrap and using a sushi mat, press the tamago-yaki into a rectangle shape.
- Let cool completely, then slice.
- Repeat the process with the other remaining 6 eggs and ingredients.
At Cate's party some people made nigiri sushi out of the sliced tamago-yaki, some people cut it up and placed it in their sushi rolls and a few just popped it in their mouth whole...whatever method works for you, as long as you enjoy it.
Makes 2 large rolls of tamago-yaki.
Tuesday, November 2, 2010

Subscribe to:
Comments (Atom)


